Hikers with ID
Matching each hiker with the right trails can help hiking planners and partners to find the perfect hike.
How can I find trails now?
A detailed inventory of hikes in our region reveals just how overwhelming the choices are for beginners
How are trails rated?
The criteria for rating trails of varying levels of difficulty are not that useful to beginning hikers with ID!
Access adventure
Using existing data to carefully cali- brate hikes that help beginning hikers grow over time into adventurous ones.
Building a trail inventory
Applying progressive access to the inventory of trails in our region reveals a wealth of great options.
Evidence-based practices
How can you adapt core EBPs identified for other skills and behaviors to hiking?
A community of hikers!
Imagine creating new social connections, and building a regional trail inventory together!
Coming soon
The beginning hiker
Progressive access helps planners to slowly and systematically increase the length and difficulty of hikes
June 20, 2020
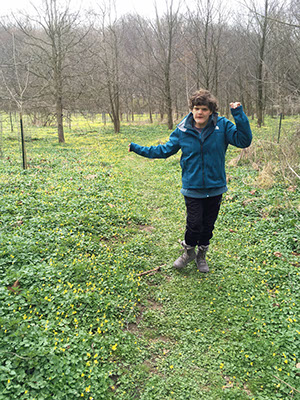 Spring flowers at the Chandler Mill Nature PreserveOnce we have established a baseline of easy hikes, including a weekly routine that works for hikers, planners, and partners, where do we go next? In this next stage targeting the beginning hiker, we move systematically beyond the short easy hikes to gradually add longer and steeper hikes, and that eventually explore natural surfaces in addition to paved ones. To gradually increase the effort involved in these hikes, we consider each feature of a hike that might make it difficult for our hikers, and propose a formula that combines these features together to calculate an individualized effort score.
Effort scores helps to reconcile other differences between hikes; for example, two hikes of different lengths might have the same effort score if the shorter hike is steeper . Planners and partners can then use this score to set more reasonable expectations when they are ready to introduce a more difficult hike. The most important variables considered here can be derived from available GPX data, allowing us to confidently generate a effort score, and assemble an inventory of hikes that are at least appropriate for beginning hikers.
Whenever we are considering increasing the effort required for a hike, we aim for a comfortable challenge. In other words, we want to increase the effort meaningfully, but not so much as to make our hiker uncomfortable. Each hiker (like each one of us) is different...when faced with a challenge, some rise enthusiastically, and others unwillingly. In this step, we discuss how to account for the factors that beginner hikers are likely to encounter. In a later step, we discuss how to account for factors that more adventurous hikers are likely to encounter.
Calculating Effort
One point for each 1/2 mile segment
For each 1/2 mile segment, add points for:
- Average slope greater than 1:20
- Multiple steep sections
- Uneven surface, with obstacles
- Narrow trail
Consider adding a point overall when hiking in bad weather

Wet winter day on the Trolley Trail
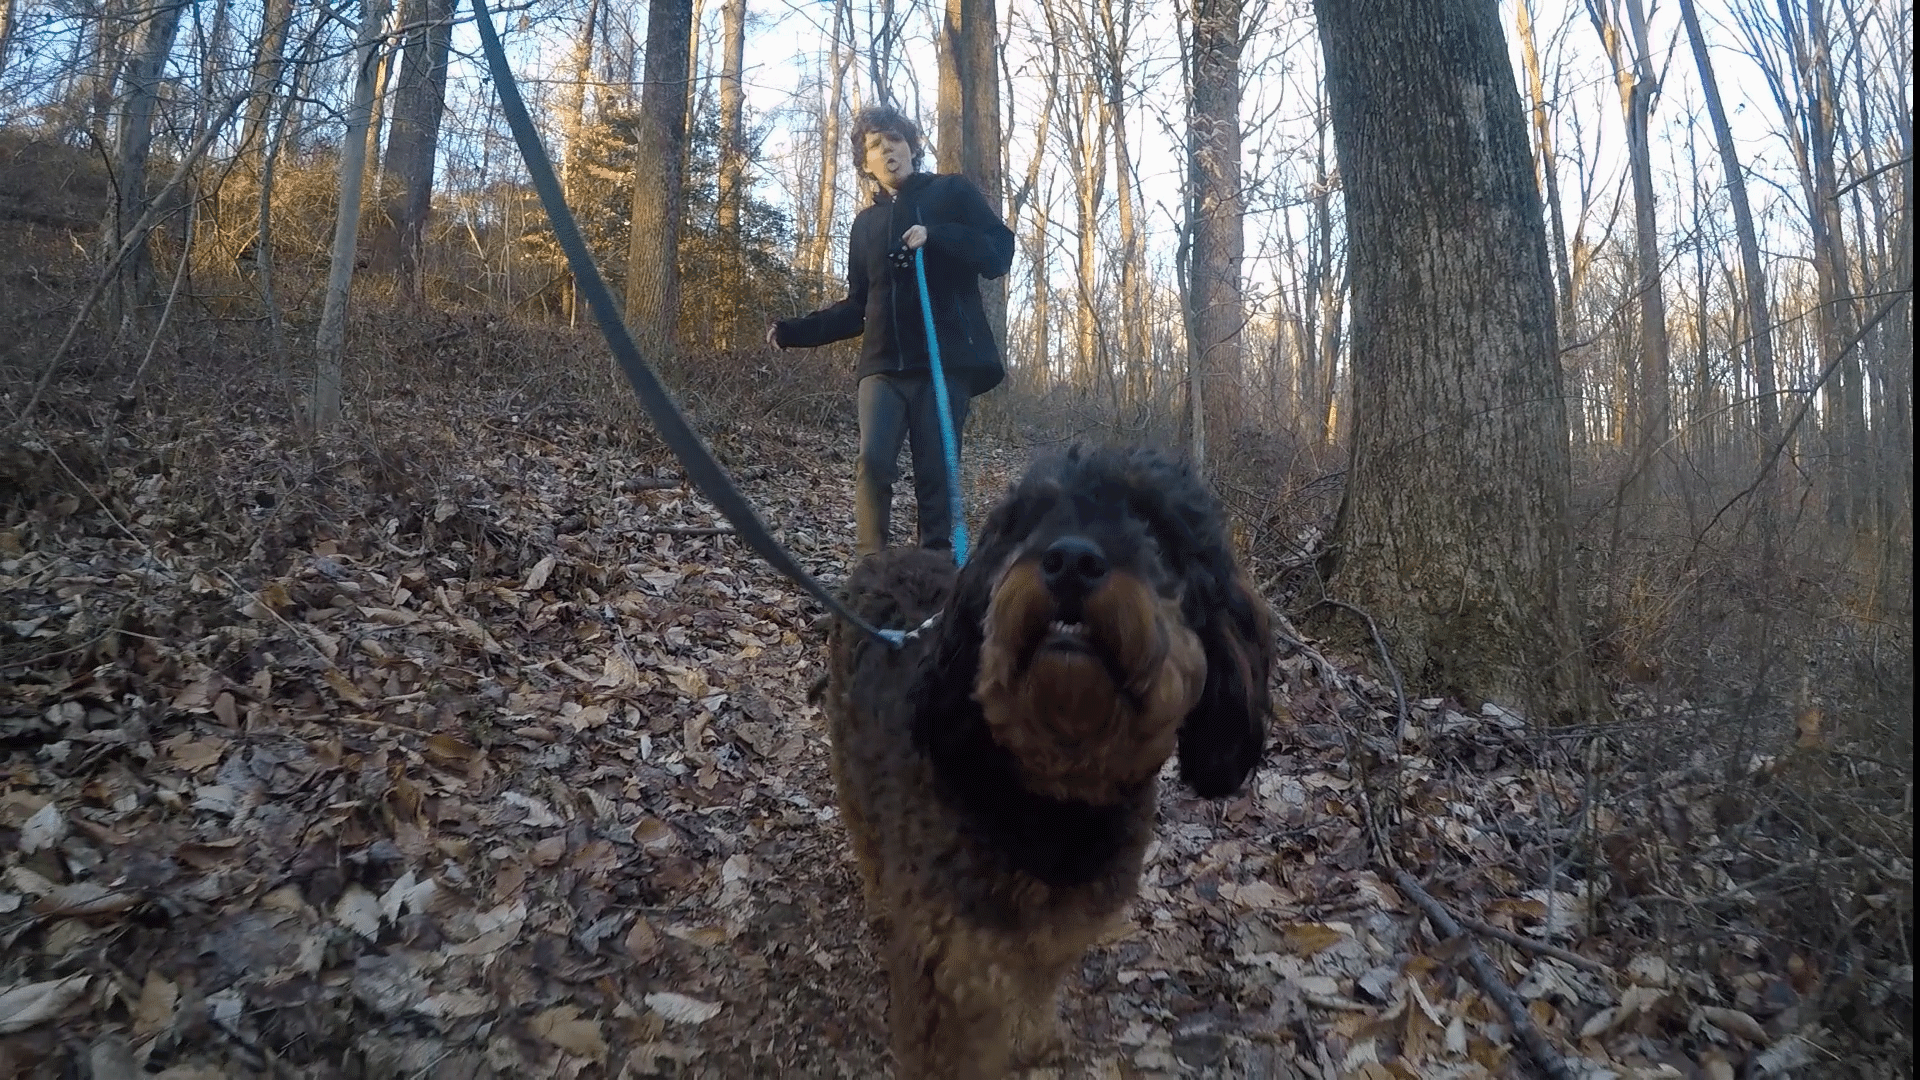
Walking with Cooper at Marshall Mill House
Key definitions
A wide trail has a 5' tread width to allow a hiker and partner to walk side by side
A stable, even surface includes few muddy patches or rocks/roots projecting up more than 2 inches
A natural surface has not been improved (like a dirt trail) AND maintained (like an old road now with rocks of roots in it).
Build capacity a half mile segment at a time
Focus on finding the right trail segment, not necessarily a whole trailWe believe it is more useful to conceive of longer trails as consisting of a series of half mile segments (beginning from a parking area), especially for beginning hikers. Hikes might therefore consist of one or more segments within a longer trail. By breaking trails into segments, we also acknowledge that important variables like the slope (discussed below) can vary significantly from one section to another, which impacts the effort required.
Breaking trails into half mile segments also gives hiking planners more flexibility in selecting trails, and creating a hiking experience that matches a hiker’s current level. The length of a hike is a strong and clear predictor of the effort required. Length is a variable that is reliably calculated on apps like Alltrails, and so we can feel confident that a 1 mile hike will required twice the effort of a half mile hike, if all other things are equal.
Beginning to calculate the Effort required
Each half-mile section of paved flat trail counts for one point for effortBreaking trails into half mile segments also gives us the basis for an easy metric to calculate an overall effort score: We count each half mile section of paved or hardened (see below) flat trail as one point. Once hikers have moved beyond baseline trails, all trails in our inventory have a maximum effort score indicated next to the title, if the entire trail is completed
One challenge of this scenario is that hikers and hiking partners might not know how much distance they have covered, unless a new segment happens to coincide with abrupt change in the slope. We therefore envision how data gathered by hikers in a second phase might help to break trails into these kind segments. For example, we might use a resting area or a features (like a bridge or stream) as a natural waypoint. We can also imagine that some trail designers might be open to using simple markers to signal the total mileage covered. In the interim, we can select trails that are do not have significant changes in slope, and that are the right length in their entirety.
Steps for the Beginner Hiker
1. Can your hiker walk a longer, flat paved trail?
Consider the length of flat, hardened trail completed in the previous step as your baseline effort.We calculate initial effort from the baseline described earlier: was our hiker able to comfortably complete a half mile (one point)? A mile (two points)? A mile and a half (three points)? Plan to increase the expected effort from an established baseline one point at a time. For hikers who struggle to reach a half-mile, you might consider consider aiming to increase length 1/4 mile at a time until you get up to completing one mile in less than 60 minutes. Before moving on to the next step - more difficult paved trails - aim to establish a new baseline of being able to complete a 1 1/2 mile flat, paved trail in less than 90 minutes.
When have you set a new baseline effort?
When have reached a new milestone, replicate that hike at least 3-5 times over 2 trails, before you consider that your new baseline effortSo you successfully increased your hike from a half mile to a mile... does that mean you can move quickly to one and one-half miles? No!! It is always possible that your hiker had alot of energy that particular day, or was in a great mood that particular day. Or maybe there is something about that particular trail that they really like and that is not otherwise captured in the variables outlined below. So to be sure that you have established a new baseline to build from, you have to repeat that experience successfully at least 3 to 5 times in a row. For hikers who struggle to achieve that next step, you may consider establishing this baseline on at least 2 different - but comparable rails.
2. Can your hiker walk a paved trail that includes sections with a gentle slope?
As described earlier, the slope of a trail - and especially the running slope - contributes reliably to the effort required to complete a hike. Consistent with most other rating systems, we also recommend that running slope be considered as an average across an entire segment. We propose increasing this across three different levels,
Average Running Slope
To estimate the increase in effort across an entire segment, we adapt a formula often used by typical hikers, who plan on 30 minutes per mile of trail, and add 30 minutes for each 1000 foot increase in elevation. Stated differently, a thousand foot elevation gain over one mile (i.e., a 1:5 slope) typically doubles the time required for a mile of hiking.
Given that our hikers may struggle to communicate their difficulty, we more than double this estimate. For example, we would consider an average slope between 1:20 and 1:12 to double the effort, while a segment with an average slope greater than 1:8 would quadruple the effort (see figure below). These can significantly increase he overall effort score for a longer trail. Whereas a one mile section of flat trail would require an effort of 2, a one mile section of trail with a slope of 1:8 (i.e., that also rises 650 feet) would require an effort of 8.
Maximum Running Slope for a Section
Consistent with FSTAG, we also recommend considering the maximum running slope across a significant subsection of a segment in estimating the effort required to complete a segment. For this system, we calculate 100 foot subsections, and consider 3 of these to constitute a significant subsection for the purposes of calculating the maximum running slope within a section. For a half-mile segment to only count as 1 for example, the overall slope must remain less than 1:20, AND there can be no more than 3 100' sections with a slope greater than 1:10.
Finally, we recognize that some sections many not fall cleanly within these categories, and so we allow for the possibility of a half point. Consider 2 different half-mile segments with no slope (less than 1:20): one with 2 100' sections with a slope greater than 1:10 would be rated as 1, while one with 3 100' sections with a slope greater than 1:10 would be rated as a 1.5.
Effort Adjustment for each change in running slope, calculated for each 1/2 mile segment
No - Gentle - Moderate - Difficult Slope Slope Slope Slope x1 x1.5 x2 x2.5 x3 x3.5 x4 <1:20 1:12 - 1:20 1:12 - 1:8 >1:8 <1:10 <1:5 <1:3.3 >1:3.3 AverageMaximum over 300'
Adjust the estimated effort by the running slope factor for each half-mile section of hikeAn advantage of this system is that GPX data available for sites like Alltrails (or collected easily from hikers), can quickly be used to identify half-mile segments that require a significant increase in effort because of the average and/or maximum slope. Hikers might consider establishing a baseline on an easy paved hike of at least a mile in length before moving on to a trail segment with an increased slope. For example, a hiker who has can comfortably complete a easy easy segment a mile in length may next move on to a more difficult (i.e., 1:12 slope) hike a half mile in length.
Before moving on to the next step - easy, natural trails - aim to establish a new baseline of being able to complete a 1 1/2 mile flat, paved trail that includes at least one 1/2 mile section with a gentle slope (e.g., between 5% and 8.5%) in less than 90 minutes.
3. Can your hiker walk on an easy, natural trail?
Begin with hikes on trails with a paved surface.Like other rating systems, we distinguish here between a paved surface (e.g., asphalt or stone dust) and a natural surface (dirt). A paved surface means that hikers will not have to contend with muddy patches than they find difficult (or sometimes aversive). Many (but not all) trails include information about the trail surface in the description or, if not, in reviews provided by other hikers. Beginning hikers should start out on trails with a paved surface.
A helping hand on muddy ground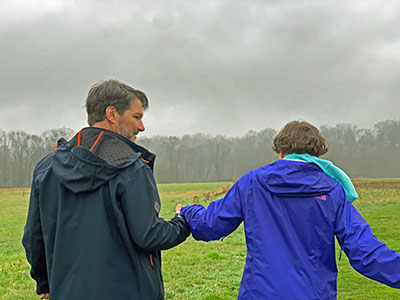 Starting out on trails with a paved surface has other advantages, because most of these trails are designed to meet other criteria that become more important to more adventurous hikers. For example, they are usually constructed to have a tread width of at least 5 feet, and a clearing width that is even greater, allowing a hiker to walk side by side with a partner. Paved trails generally ensure a stable, even surface with no obstacles, which decreases the effort significantly for a beginning hiker. Paved trails also typically eliminate any significant cross-slope.
In contrast, the state of natural trails is much less predictable, and the information typically available in the descriptions of trails or the reviews of other hikers may shed little light on this. Natural trails might be narrow, muddy, or present with roots, rocks, or other obstacles that a beginning hiker might find difficult. Natural trails that are poorly designed or maintained may suffer more damage through rain, or excessive use by horses or bikers. This becomes more likely with increases in the slope, and for trails that wind through a densely forested area. Of course, when a descriptions or a review indicates that a forested trail is smooth, clear, and well-maintained, interested hikers should not hesitate to try it out, as long as the length and slope indicate an effort score less than of equal to trails they have comfortably completed already
Consider a easy, natural trail through a meadow or mowed area once you have mastered a trail of equivalent length with a greater slope.An exception is an easy to moderately difficult, regularly mowed trail running predominately through a meadow. While the surface might still be uneven, there will probably be few if any roots, large rocks, or other significant obstacles. Mowing generally leaves just enough room for hikers to walk side by side. While horses and bikers can still create deep ruts, there are often ways to step around these.
Consider adding a half point of effort for each 1/2 mile of trail on an uneven surfaceA hike through a meadow can be wonderful, and hikers eager for this experience should certainly consider a meadow hike once they have a baseline of 1 to 1.5 miles on segments with at least a more difficult slope. To control for the possible increase in effort required, consider adding a point to the effort required for each half-mile section of meadow trail with an uneven surface. For example, a hiker with a baseline of one mile on a more difficult slop (effort of 4) would consider a one mile meadow trail with an easy slope to be equivalent in effort.
Before moving on to more adventurous trails, aim to establish a new baseline of being able to complete a 2 mile, flat natural trail in less than 90 minutes.
4. Experiment with hiking in less than ideal weather
One factor that affects how much effort we can put into a hike and how much ground we can expect to cover has nothing to do with trail itself: the weather. Of course, we can always adjust to a hot or rainy day by seeking a forested hike, or by seeking a sunny hike when it is cold. But sometimes, that is simply not enough. Margot's overall endurance and mood is definitely impacted when she is not is comfortable, so we just adjust our expectations.
- What is bad weather? This would include days that are especially hot (e.g., above 80), humid, cold (e.g., below 45) or rainy. Recently, Margot could barely finish a hike on a muggy 85 degree that she would have easily completed any other day.
- Experiment with different apparel. When do they need a hat or gloves? When they need to shed a layer or two? Maybe they need help keeping a hat, sunglasses, or gloves on, but don't give up! It took two years of skiing and biking in the cold before Margot realized that these help keep her comfortable. Now she barely notices when she is hiking on a 40 degree rainy day (like the cold March day we hiked the Trolley Trail, to the right).
- Add a point to the overall effort required for a short hike on a day that is especially hot, humid, cold, or rainy.When we are setting expectations about the effort we can dedicate, we should adjust the effort required on bad weather days by adding a point, and choosing a relatively easier hike. Consider the example of a hiker who has reached a new baseline effort of 4, because they can comfortably walk a hardened 1 mile trail with a more difficult slope. On a bad weather day, they should aim instead to complete a hardened one mile trail with an easy slope.
Learning to hike in poor weather is REALLY important! It helps take hiking from a spring and fall activity to a summer - and,yes, even winter - activity.
A sample progression
Here is an example of how a hiker with a baseline of 1 (i.e., who can comfortably complete an easy, paved trail segment a half-mile long) might progress through increasingly effortful hikes until they are ready for the next phase: more adventurous hikes that rate 6 or higher.
Effort Options
Score
1 Easy 0.5 mile flat, paved segment
2 Easy 1 mile flat, paved segment
3 Easy 1.5 mile flat, paved segment
OR
Gently sloped, 0.5 mile paved segment
combined with a flat 0.5 mile paved segment
4 Flat 2 mile paved segment
OR
Gently sloped, 1 mile paved segment
OR
Flat 1 mile natural trail through a meadow
OR
Flay, 1.5 mile paved segment when the weather is not great
AND
Practice taking a break at a bench or table halfway through
5 Flat 2.5 mile paved segment
OR
Gently sloped, 1 mile paved segment combined with a flat 0.5 mile paved segment
And on and on and on!!!
Get ready to become more adventurous!
By the end of this phase, you are taking 1 to 2 hour hikes on a variety of trails and under a range of weather conditions. This makes it possible for short hikes to become a year round activity. But what if you want to become even more adventurous?
Practice taking breaks
As your hiker begins to walk 2 miles, and especially on increasingly difficult trails, you will find it helpful to try to begin to introduce a short break somewhere around the midpoint. This break will give them (and you) a chance to catch their breath. But you are really beginning to create a routine that will become more important if you want to ever aspire to hikes that are much more challenging. A break can be as simple as 5 minutes on a bench or under a shady tree, with a drink and perhaps a snack. We would love to become more adventurous Margot's hike, which will definitely require a good break.
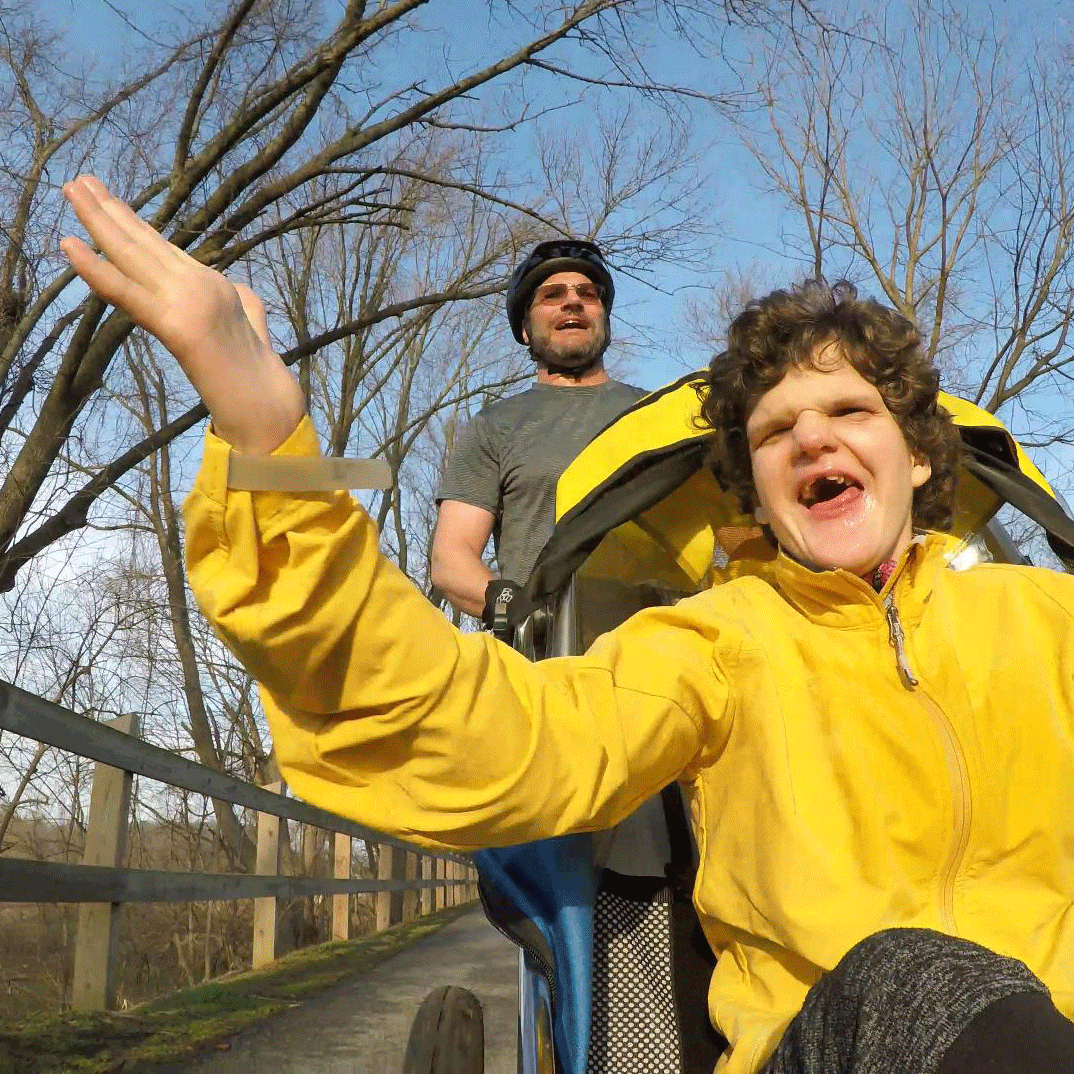
We first discovered the need to introduce breaks as we began bike rides with Margot in her special trailer that stretched past 75 minutes; even though she was not working, she needed a break if we were going to continue. Margot covers a mile on an easy to more difficult hike in 35 to 40 minutes, so breaks become essential for any hike more than 2 miles long. Our first "breaks" were less than a minute: Margot just kept pulling at us to get back up. When lots of practice across school and home taking at least a short break, Margot now knows what to expect. We often just stretch out on a bench or even just on the ground for 5 or 10 minutes and let Margot wander around. She watches us, plays with us, and sometimes seems to just watch and listen to nature or to the people passing by, and then we are all ready to go again. We hope to make this longer with each break, so that eventually Margot too will use this as a chance to rest.
Practice evaluating how your hiker is doing while tracking your progress on a map
Being more adventurous with longer and more difficult hikes also means that you will have to sometimes make decisions on the fly about whether to continue or to turn back. These decisions are based your evaluation of 3 variables: (1) how your hiker is doing so far, (2) how much you have completed so far on this hike, and (3) what kind of effort might be required to complete the remaining hike. By this point, you should have enough experience in evaluating (1). Your hiker's experience with a range of hikes should also give them greater capacity even if you slightly over- or under-estimate their fitness. The remaining variables require, however, that you understand how to track your progress on a map relative to the hike which remains.
- Begin to practice this as you begin to undertake hikes requiring an effort of 4 or greater.
- Always open the Google or All Trails map for the trail you are hiking on, and begin to track your progress.
- Get used to checking on with you hiker when you are 25% to 30% into your hike, to make sure there is nothing that seems especially uncomfortable for them. When you undertake longer hikes, this is when you might need to consider deciding whether to continue or whether to abort. When you are about 75-80% complete, check in with your hiker again: if they are struggling a bit, then you have probably set the right expectations; if they are breezing right along, you probably have more flexibility to undertake a more difficult hike, or when the weather is not so favorable; if they are signaling that this is REALLY hard, especially even earlier (like 50-70% into the hike), then you will need to recalibrate your expectations. Do this for every hike, and you will become even better at choosing the right challenge for them.
- Get used to reviewing the trail description for any relevant information about the features or particular segments of the hike that might prove more difficult. This is important because more adventurous hikes can vary in significant ways that can quickly sap your hiker's energy: they can include sections that are much steeper, much narrower, and/or include obstacles to step over or around.
- See if you can identify these features as you hike. While these features are still captured in the overall effort score, they can make it tricky to gauge whether you need to abort because you can no longer rely only on the distance you have covered; a hike may have much more challenging sections at the end, such that 50% of the effort required comes in the final 25 or 30% of the hike.
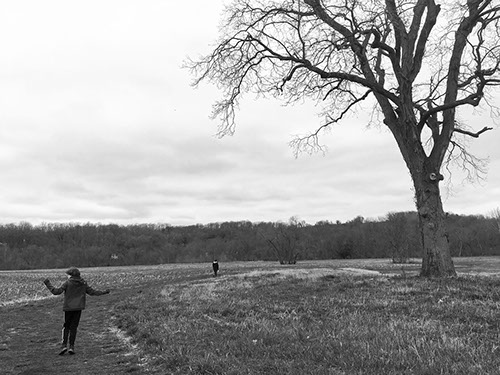
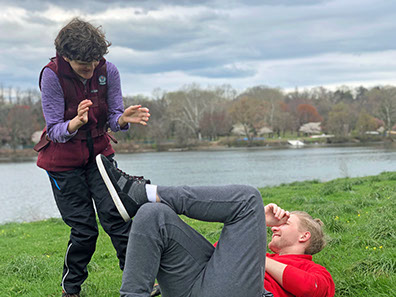
Taking a "break" on the Schuylkill
Accessible Trail Adventures
![]() A blog on how to plan accessible trail adventures - walking. hiking, biking, etc - for people of all abilities.
A blog on how to plan accessible trail adventures - walking. hiking, biking, etc - for people of all abilities.
Sample Guidelines

See a summary
Or read more detailed descriptions
Design by Jeremy Goldberg
Muse-Themes.com
The logo is adapted from Joaquim Alves Gaspar's drawing of Pedro Reinel's compass rose.
Connect
Hikers with ID
Matching each hiker with the right trails can help hiking planners and partners to find the perfect hike.
How can I find trails now?
A detailed inventory of hikes in our region reveals just how overwhelming the choices are for beginners
How are trails rated?
The criteria for rating trails of varying levels of difficulty are not that useful to beginning hikers with ID!
Access adventure
Using existing data to carefully cali- brate hikes that help beginning hikers grow over time into adventurous ones.
Building a trail inventory
Applying progressive access to the inventory of trails in our region reveals a wealth of great options.
Evidence-based practices
How can you adapt core EBPs identified for other skills and behaviors to hiking?
A community of hikers!
Imagine creating new social connections, and building a regional trail inventory together!
Coming soon